How to Clean Your Fridge: 6 Simple Tips for Fresh and Hygienic Kitchen
Refrigerator
Your kitchen is the heart of the home. It’s where meals are prepared, conversations happen, and family and friends naturally gather throughout the day. With so much activity centered around this space, keeping it clean and organized can make a huge difference to your daily routine.
One of the most important appliances in any kitchen is the refrigerator. While many people regularly wipe down shelves or clean the exterior, the inside of the fridge often gets overlooked. Over time, spills, food residue, and hidden bacteria can build up, affecting both hygiene and food freshness.
Following the right tips for cleaning your fridge not only helps keep your food safe but also extends the life of your appliance, improves efficiency, and creates a healthier kitchen environment. From shelves and drawers to door seals and hard-to-reach corners, every part of your refrigerator deserves proper attention.
If the thought of emptying and deep-cleaning your fridge feels overwhelming, don’t worry. With a simple system and a few practical tips for cleaning your fridge, you can make the task quicker, easier, and far more manageable. And if you rent a flat and you need to move out here are tips on how to get your full deposit back from your landlord.
Ready to transform your refrigerator from cluttered and chaotic to fresh and organized? Follow these expert tips for cleaning your fridge to simplify your cleaning routine, prevent food waste, and keep your appliance performing at its best from CCL Cleaners – Cleaning company London.
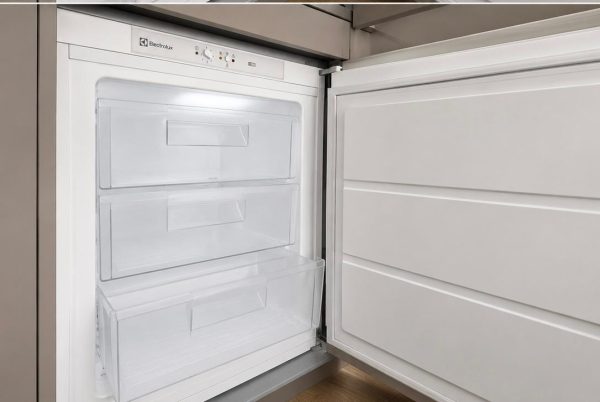
Step one: Start empty the fridge
Empty Fridge
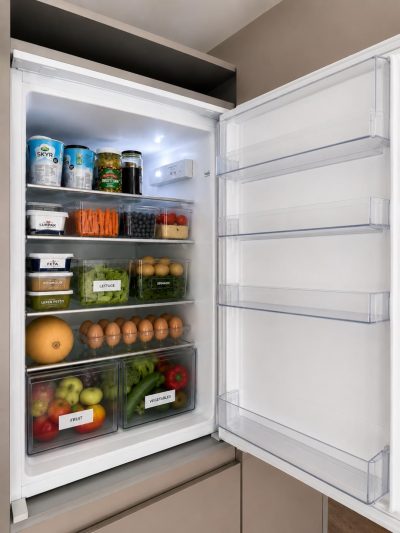
Start by removing every item from your fridge. This gives you the opportunity to check expiry dates, discard forgotten leftovers, and get rid of jars, sauces, and condiments that have been sitting unused for months. You’ll often be surprised by what has been hiding at the back of shelves or tucked away in drawers.
Emptying your fridge completely also allows you to assess what you actually use on a regular basis and what is simply taking up valuable space. Once cleared out, you can create a more practical organizational system, grouping similar items together and ensuring frequently used foods are easy to access.
Not only does this make your fridge look cleaner and more organized, but it can also help reduce food waste, make meal preparation easier, and improve the overall efficiency of your kitchen.
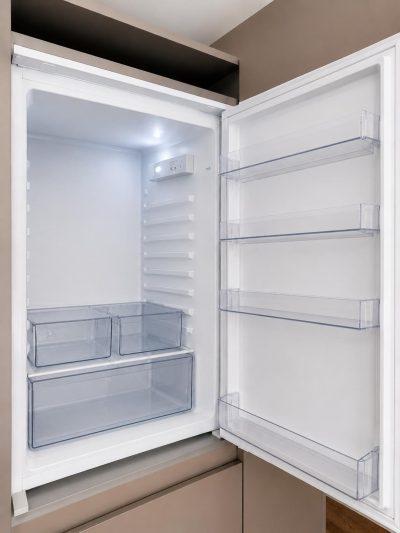
Step two: Remove the shelves
Fridge Shelves
When cleaning your refrigerator shelves, it’s important to handle them with care. Although many refrigerators glass shelves are designed for durability, sudden temperature changes can still cause damage. Avoid placing cold shelves directly into hot water straight from the fridge. Instead, allow them to reach room temperature before washing.
Once the shelves have warmed up, clean them thoroughly using warm, soapy water to remove spills, food residue, and bacteria. For the best results, you may wish to continue cleaning other areas of the fridge while the shelves acclimatize. Taking this extra step helps protect the glass, prolongs the life of your shelves, and keeps your refrigerator looking its best.
Step three: Remove the drawers fully
Refrigerator Cleaning
Next, remove all refrigerator drawers and clean them using the same method as your shelves. Allow them to reach room temperature if needed, then wash thoroughly with warm, soapy water to remove any food residue, spills, and lingering odours. Once clean, dry them carefully and buff any glass fronts with a soft kitchen towel for a streak-free finish.
Taking the time to clean your drawers properly helps maintain a hygienic environment for fresh produce and prevents hidden dirt from building up over time. Before replacing them, ensure they are completely dry to avoid excess moisture inside the fridge.
Helpful Tip: If you have a Bosch fridge freezer, don’t forget about the freezer drawers. Remove these as well and follow the same cleaning process to eliminate ice residue, crumbs, and spills, leaving your freezer looking just as fresh and spotless as your refrigerator.
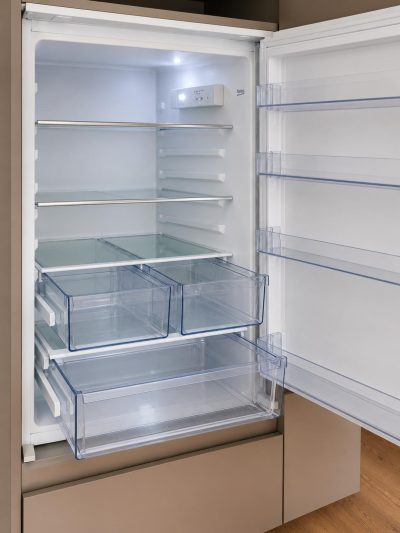
Step four: Clean the inside of the refrigerator
Cleaning Fridge
With the shelves and drawers removed, it’s time to tackle the inside of your refrigerator. Rather than reaching for harsh chemical cleaners, choose a natural cleaning solution made from white vinegar and bicarbonate of soda. This simple yet effective combination helps break down stubborn food residue, lift stains, and neutralize unpleasant odours without leaving behind harsh chemical traces near your food.
The white vinegar works to disinfect surfaces and eliminate lingering smells, while the bicarbonate of soda gently tackles built-up grime and stubborn marks. For a fresher scent, add a few drops of lemon juice or your favorite food-safe essential oil to the mixture.
Using a soft cloth or sponge, wipe down every interior surface, paying special attention to corners, shelves supports, and any areas where spills may have collected. A thorough clean not only leaves your fridge looking spotless but also helps maintain a fresher, more hygienic environment for your food.
Step five: Clean the door seals
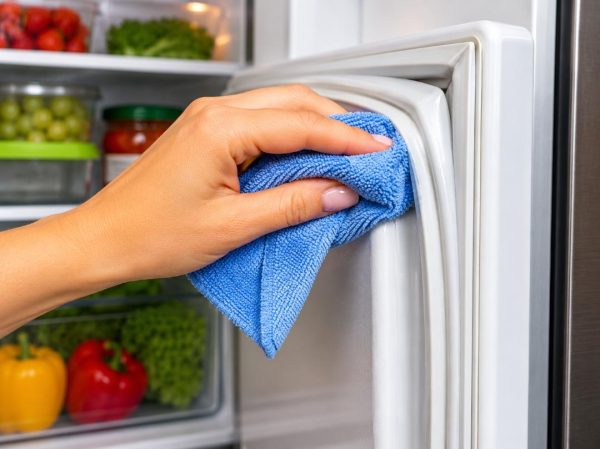
Door Seal Cleaning
Don’t forget to clean your refrigerator door seals, as they can easily collect crumbs, moisture, and food residue over time. If left unattended, these areas can become a breeding ground for mould and bacteria, potentially affecting the performance and hygiene of your appliance.
Using the same natural cleaning solution of white vinegar and bicarbonate of soda, gently wipe down the seals, paying close attention to the folds and grooves where dirt tends to accumulate. A soft cloth, sponge, or old toothbrush can help loosen stubborn grime without damaging the seal.
To clean hard-to-reach crevices and corners, use a narrow cleaning brush, vacuum crevice attachment, or cotton swabs to remove trapped debris. Keeping the seals clean helps maintain a proper airtight closure, improves your fridge’s energy efficiency, and can extend the lifespan of the appliance.
Once cleaned, dry the seals thoroughly with a clean cloth before closing the refrigerator door to prevent moisture build-up and keep your fridge fresh and hygienic.
Step six: Reload and re-organize and re-stock your fridge
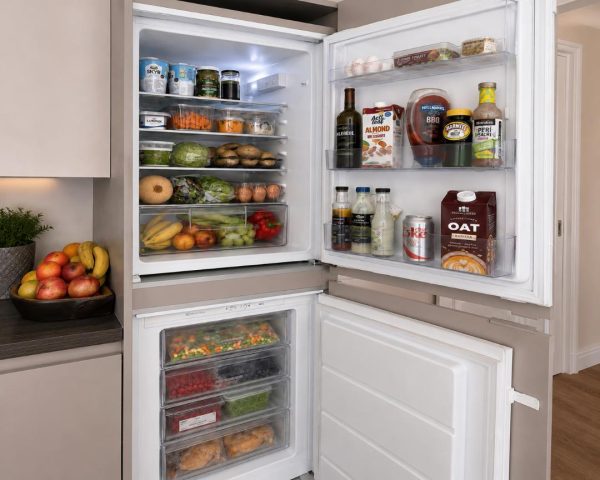
Clean Fridge
Once you’ve completed your deep clean and are ready to restock your fridge, take a few extra minutes to wipe down jars, bottles, and food containers before placing them back inside. This simple step prevents sticky residue, spills, and bacteria from transferring onto your freshly cleaned shelves and drawers.
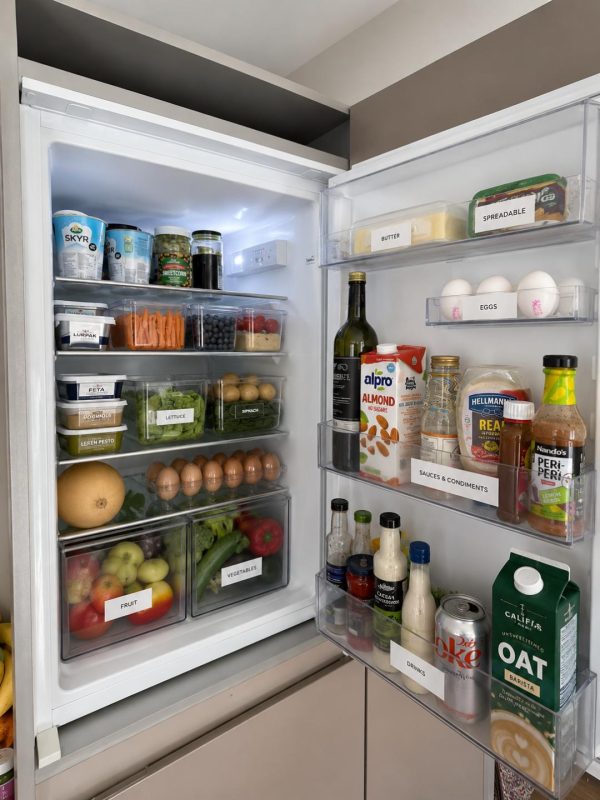
To keep your refrigerator organized and easy to maintain, assign designated areas for different food groups. A well-structured layout makes it easier to find what you need, reduces food waste, and helps keep ingredients fresher for longer. Your organization system could look something like this:
- Top shelves: Ready-to-eat foods, leftovers, and drinks.
- Middle shelves: Dairy products such as milk, cheese, and yoghurt.
- Bottom shelf: Raw meat, poultry, and seafood stored in sealed containers to prevent leaks and cross-contamination.
- Crisper drawers: Fruits and vegetables, separated where possible to maximize freshness.
- Door shelves: Condiments, sauces, jams, and beverages, as this is typically the warmest part of the fridge.
By giving every item a designated place, you’ll create a cleaner, more efficient refrigerator that’s easier to keep organized long after your deep clean is complete. The food standards agency recommends keeping your fridge temperature at 5C or bellow to keep your food safe.
Step seven : Maintain Your Freshly Clean Fridge
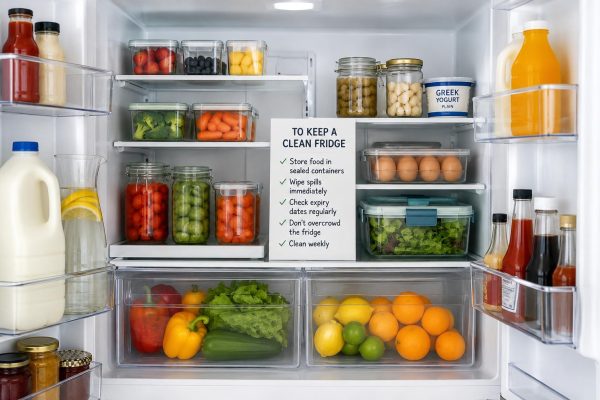
Maintain Clean Fridge
It is true that your life is easier with a clean fridge. The key to keeping your refrigerator clean isn’t just the occasional deep clean—it’s staying on top of small tasks throughout the week. Take a few minutes regularly to wipe up spills as they happen, discard expired food, and check for items that are nearing their use-by date.
A quick weekly fridge audit can help prevent clutter from building up and stop unpleasant odours before they start. Keeping an open box or small container of bicarbonate of soda in the fridge can also help absorb unwanted smells and keep the interior smelling fresh.
By incorporating these simple habits into your routine, you’ll spend less time deep cleaning, reduce food waste, and ensure your refrigerator remains hygienic, organized, and running efficiently all year round.